When observing faint astronomical objects, the amount of light captured is often minimal, leading to a narrow range of brightness values in the resulting image. This limitation renders the image exceptionally dark. Image stretching manipulates the existing data to enhance the perception of brightness and reveal otherwise hidden details.
Image stretching involves expanding the dynamic range of brightness values within the image. By adjusting the contrast and brightness levels, faint features that might otherwise be obscured by the darkness of space are revealed.
By focusing on luminance only, the stretch is only focused on brightness and does not impact color. This allows for a greater focus on highlighting the faint details.
Within PixInsight, there are typically two ways to stretch the image.
- Histogram Transformation: The most common approach. Works well with luminance channels and starless images.
- Masked Stretch with Exponential Transformation: Does a better job at protecting extremely bright areas from over-stretching (like stars), but is more complex to apply.
Option 1: Histogram Transformation
The goal of histogram transformation is to spread (stretch) the data in the image. The histogram transformation process (Process – Intensity Transformation – Histogram Transformation) shows the data on a 2-dimensional graph. The X-axis represents brightness levels (completely black to completely white). The Y-axis represents the number of pixels at the particular brightness level.
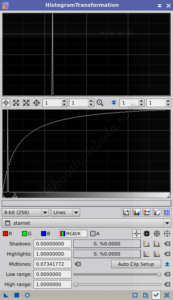
By selecting the Check Mark (Lower Right button), the currently active image values appear in the graph. Also, enable the Live View (Lower Left circle icon) to get a real-time result of the stretch.
When stretching the graph, the process typically involves adjusting the shadows (left-most slider) and the mid-tones (middle slider). Rarely will the highlights (right-most slider) get adjusted. The overall goal is to improve the brightness and contrast of the image, but to avoid the following:
- Clipping: Extreme stretching can cause some pixel values to fall outside the valid range (clipping), resulting in loss of detail in highlights or shadows. This is especially true for the Shadows. The histogram transformation process tells you how many pixels you are clipping for the shadows and highlights.
- Overstretching: Stretching too much can brighten the background. Although the background shouldn’t be completely black, it should be dark and uniform.
- Iterative: Avoid trying to do everything in one application of histogram transformation. It is often best to work iteratively, often requiring 3-5 rounds.
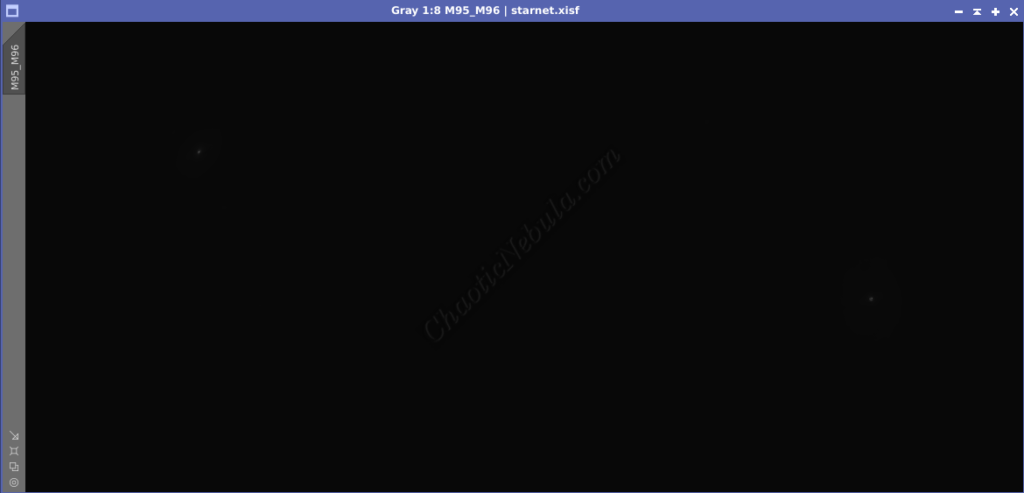
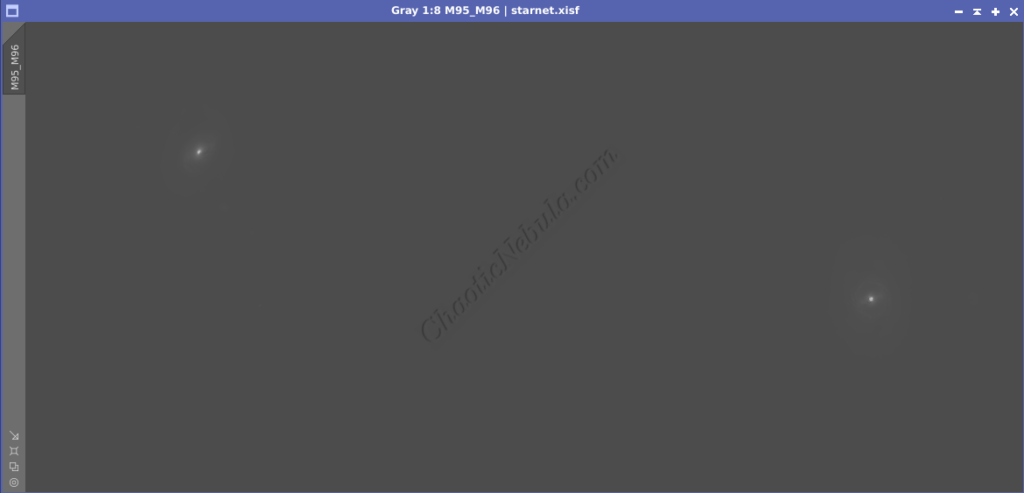
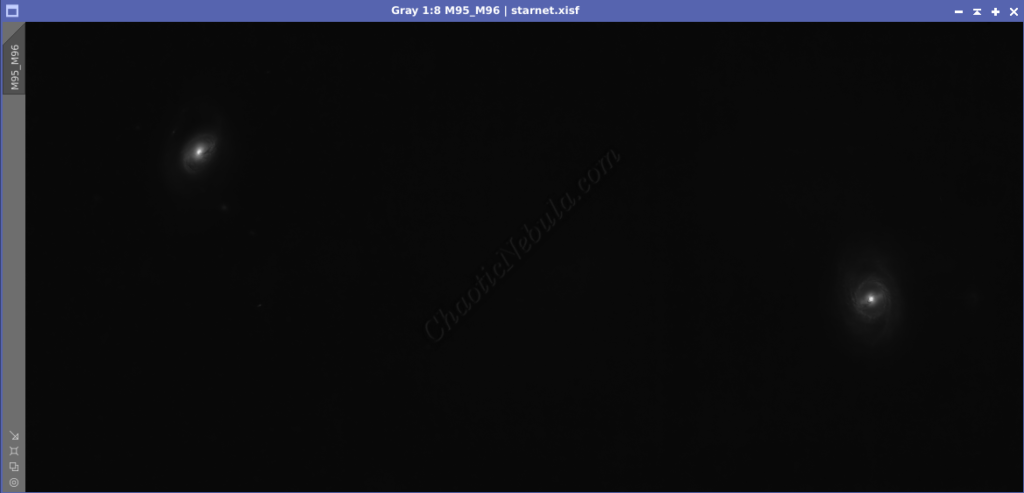
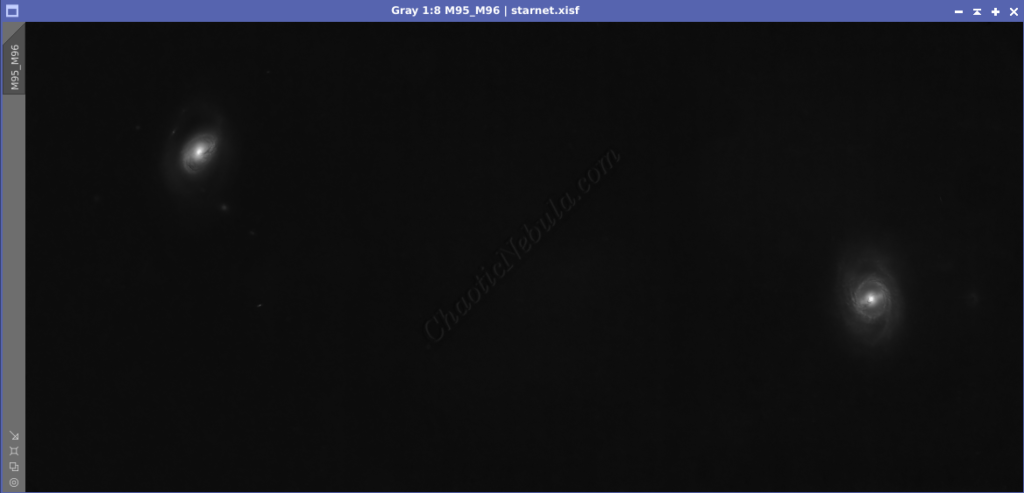
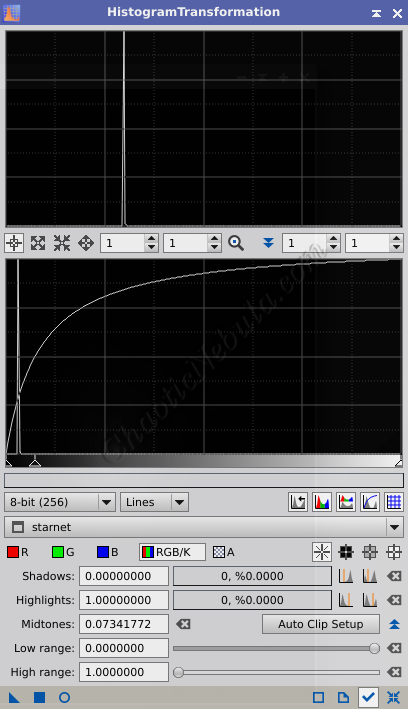
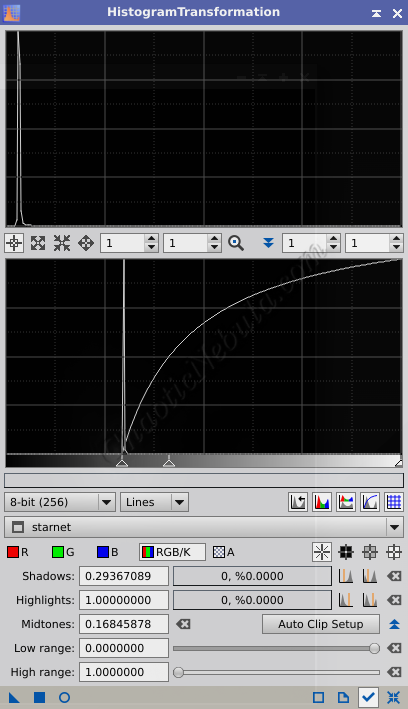
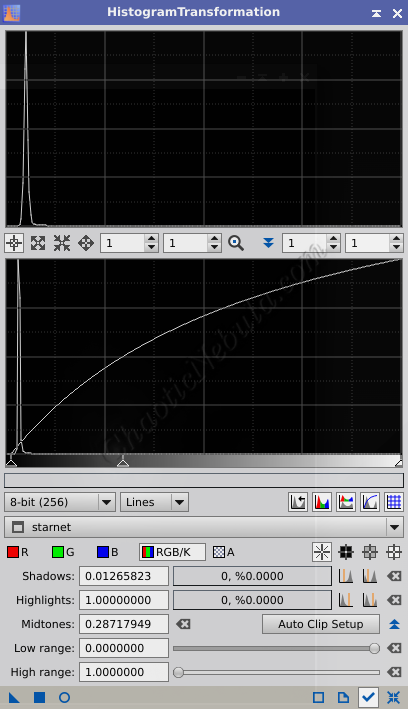
Each histogram transformation step is as follows:
- Round 1: Adjust the mid-tone slider to start showing the object
- Round 2: Adjust the shadows to darken the image. Move the slider as far right as possible without clipping pixels. Further adjust the mid-tone slider to show more details.
- Round 3: Further refine shadows and mid-tones while avoiding shadow clipping and over brightening the background.
Although a fourth round of stretching showed more data around the galaxies, this made the background too bright. Doing an enhanced stretch will focus on those areas.
Option 2:
Masked Stretch
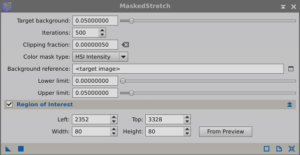
Another option for image stretching is to use the Masked Stretch process (Process – Intensity Transformation – Masked Stretch). Masked stretch creates a protection mask for the image to prevent over brightening the brightest pixels, which are typically stars. But when working with a starless luminance image, Masked Stretch often provides a mediocre result when compared to Histogram Transformation.
But for luminance images containing stars, it can help prevent the stretch from creating star bloat (making stars appear fatter), which is a challenge with histogram transformation.
Masked stretch works as follows:
- Target Background: This is the K value for the background of the luminance image. The K value is found in the bottom status bar of PixInsight (View – Tool Bars – Readout). A value of 0.05 for the luminance channel is a good starting point.
- Iterations: The process loops this many times, with each round applying a new mask to protect the background. This iterative process creates a smoother result.
- Color Mask Type: Uses either HSI (Intensity) or HSV (Value) to determine the mask. However, as the luminance is grey scale, this value is ignored.
- Background Reference: Calculates an average value from the selected reference. Works well with images that are free from gradients and bright stars
- Region of Interest: An alternative to Background Reference for determining the optimal background. Better option when the background is uneven.

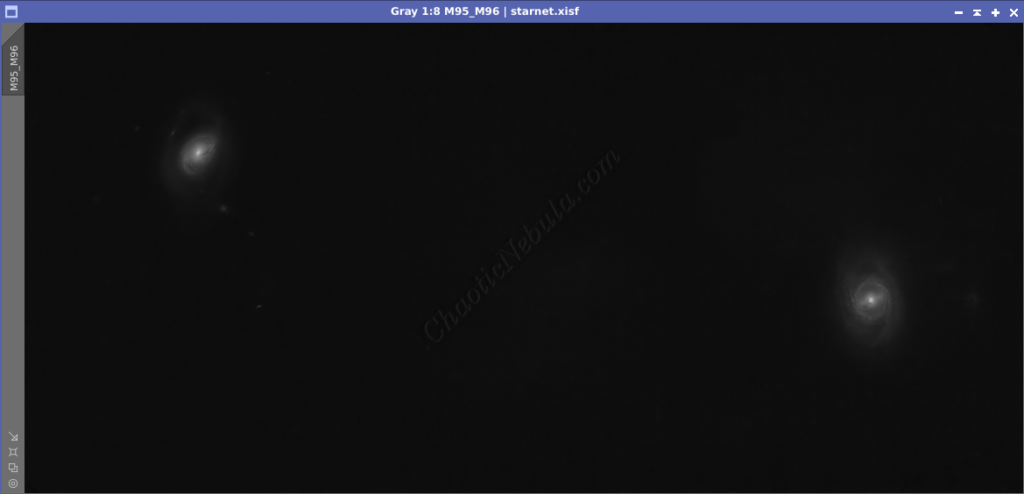
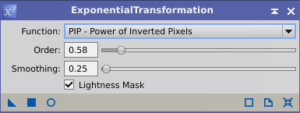
The second part of using masked stretch is to further brighten the image with Exponential Transformation (Process – Intensity Transformation – Exponential Transformation).
The exponential transformation with the Power of Inverted Pixels function brightens the image without brightening the background or overpowering the brightest regions. Think of it like creating a slight S-curve in curves transformation. It adds contrast without impacting the background brightness. It brightens the highlights areas and darkens the shadows.
What’s Next
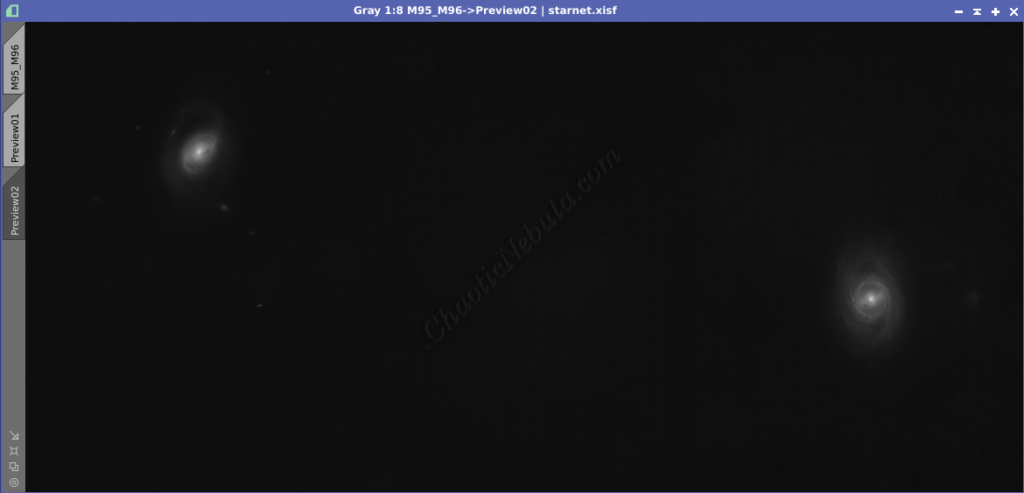
Which option worked best? Histogram transformation or masked stretch? In this case, Histogram transformation made the cores of the galaxy stand out better than masked stretch.


Save this file as the new Luminance image and continue on with the luminance workflow.
