Luminance channels provide the most intricate details in terms of brightness, rendering them perfect for capturing faint formations. This segregation enables the luminance workflow to highlight distant galaxies, nebulae, and other intricate features that could be overshadowed in the color data. Once the luminance channel has gone through the processing workflow, the final step is to add luminance to the color astrophoto.
The challenge becomes how to integrate luminance with the numerous processes and options available within PixInsight
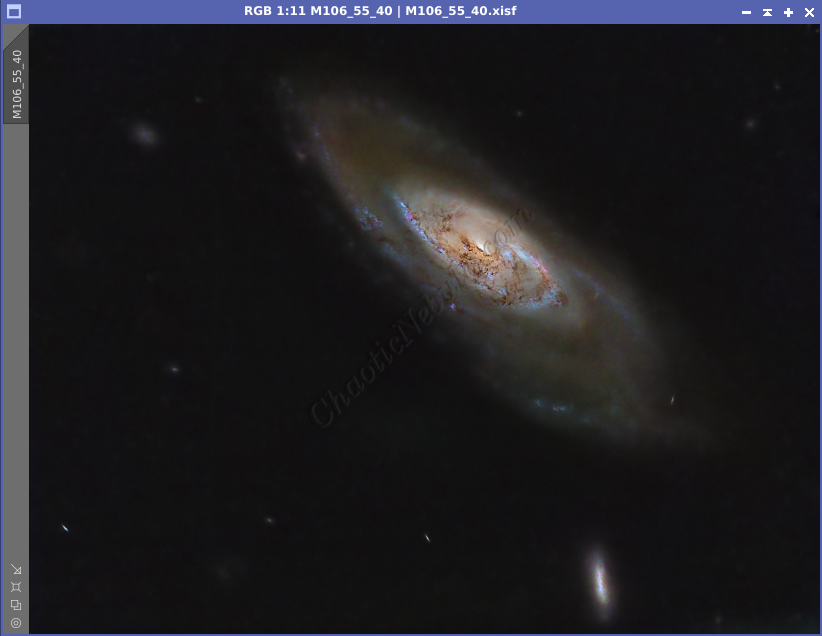
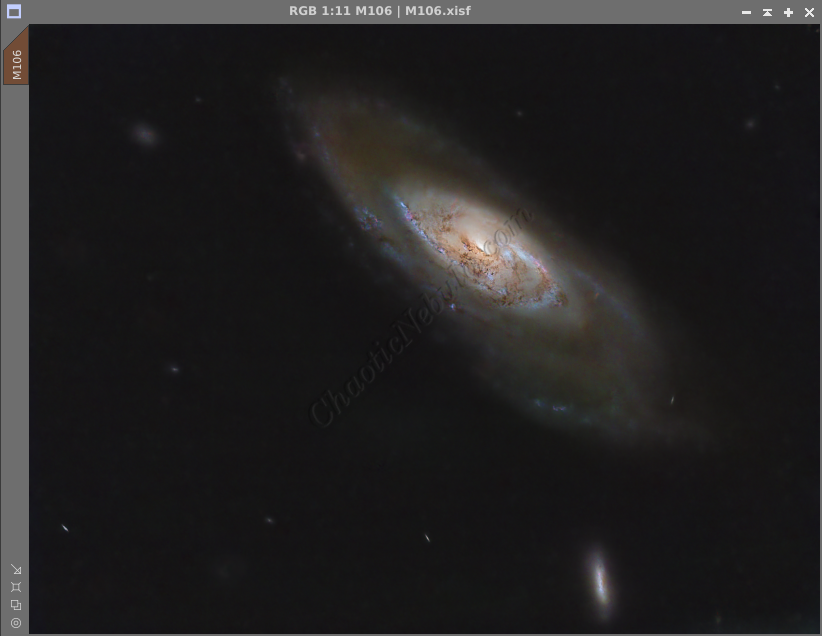
Regardless of the approach taken, the overall goal of integrating a luminance channel is to:
- Brighten the image without brightening the background
- Increase the clarity and contrast within the high signal areas.
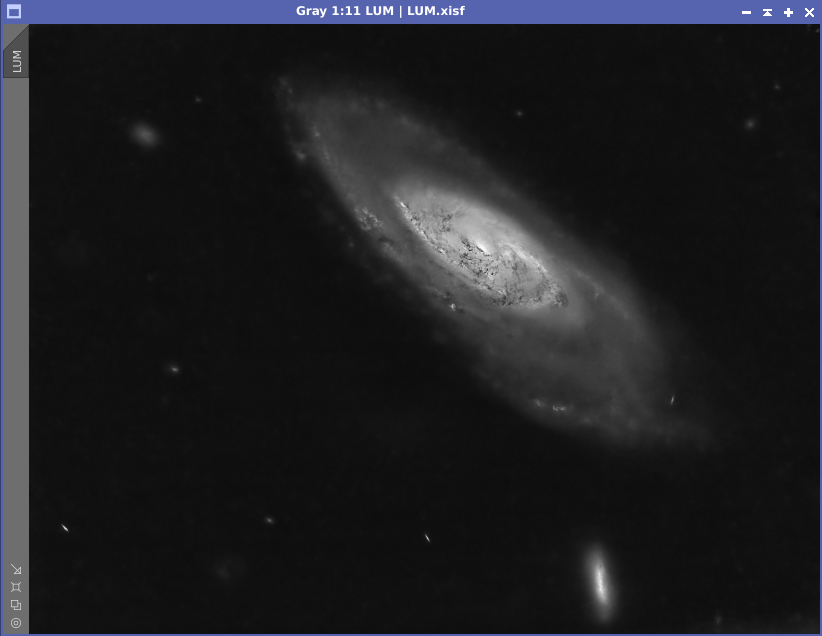
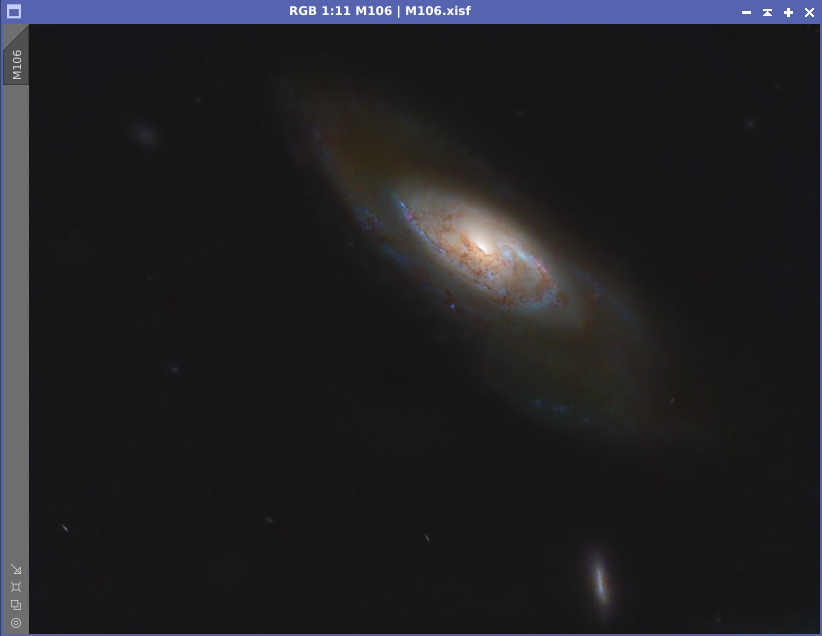
As can be seen from the baseline images, the luminance channel has significantly more detail within the core of the galaxy. By integrating the enhance luminance channel, these details are added into the color image.
Option 1:
LRGB Combination
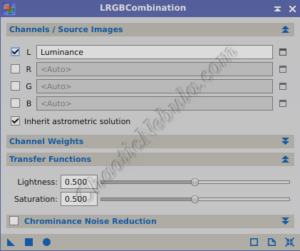
One common approach to add luminance into a color image is to use the PixInsight LRGB Combination process (Process – Color Spaces – LRGB Combination). The process works by replacing the luminance information from the color image with new luminance information that has been processed and enhanced.
The LRGB Combination process only requires a few configurations, but it often requires multiple tests to find the right transfer weight settings:
- L Channel: This is the new luminance channel to inject into the color image
- RGB: These fields should be disabled as the process gets apply to the integrated color image
- Transfer Weights
- Lightness: Adjusts the level of brightness the luminance channel will apply to the integrated image. Increasing the value results in a brighter image. Start with the default of 0.500 and adjust accordingly. To make it easier, determine the Lightness setting before adjusting the Saturation.
- Saturation: Adding a luminance channel can wash out the color of the integrated image. The Saturation adjustments provides a control for increasing the saturation. Lowering the value creates a more color saturated image. Adjust saturation after the lightness setting is determined.
First, determine the optimal Lightness setting
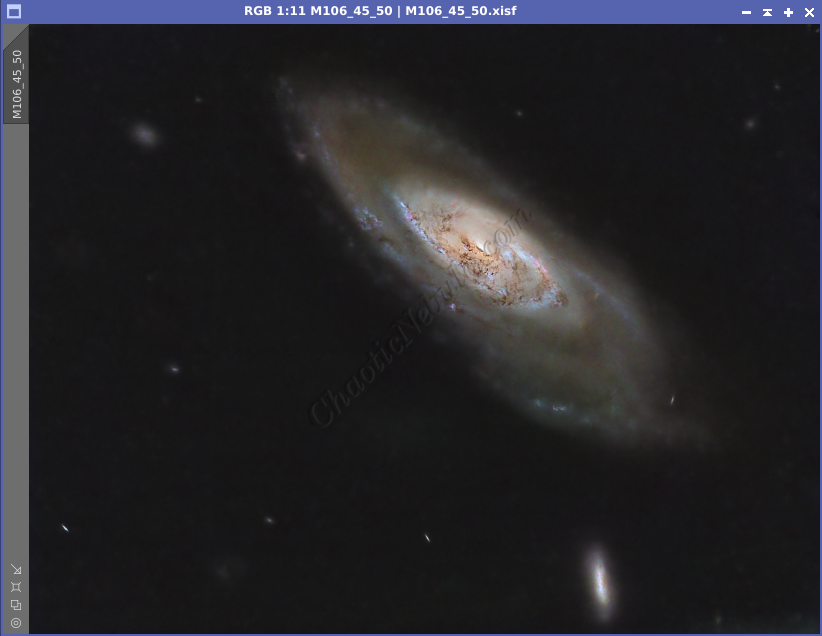
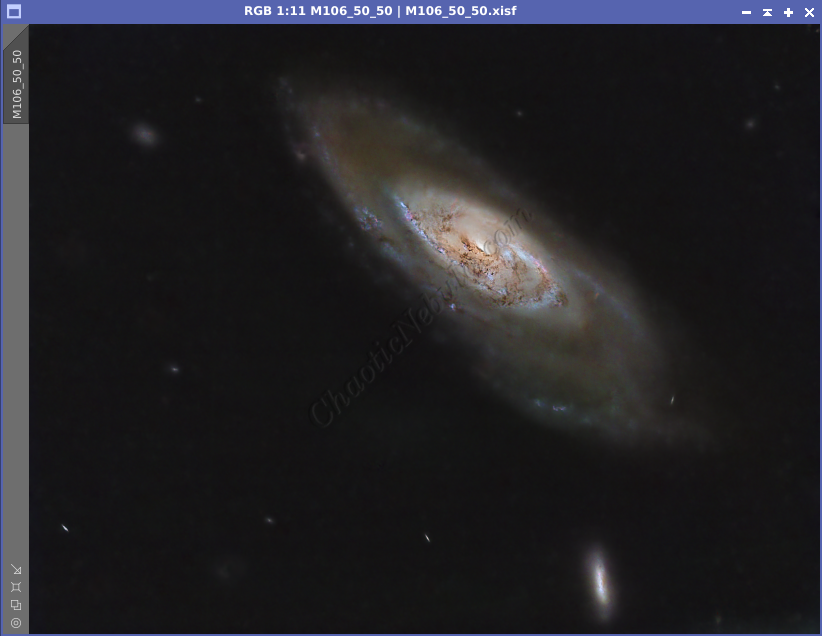
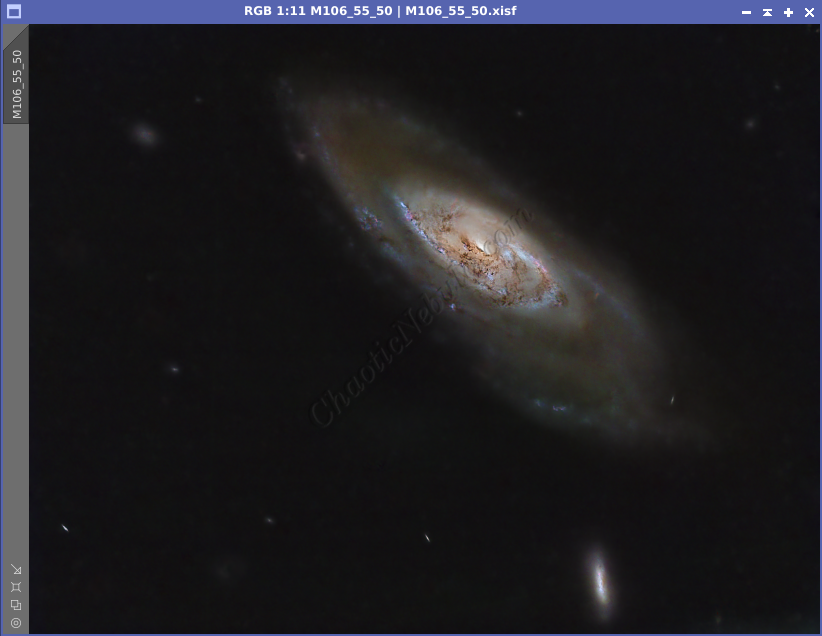
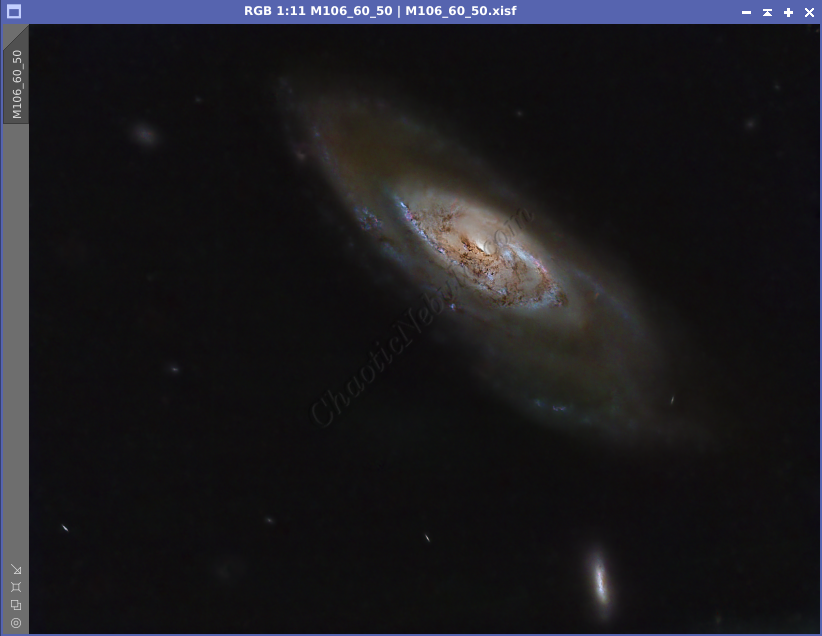
Once the lightness value is identified (in this example, lightness = 55), adjust the saturation value.
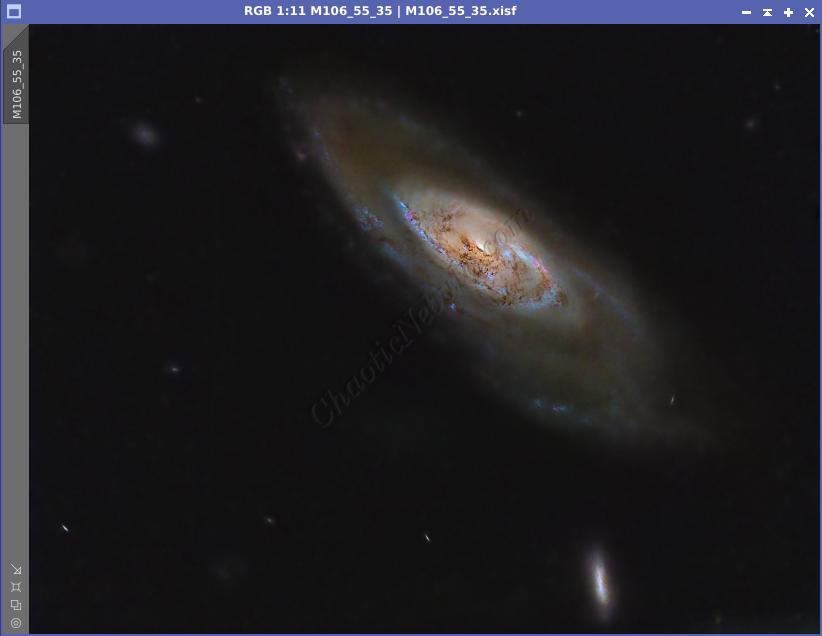

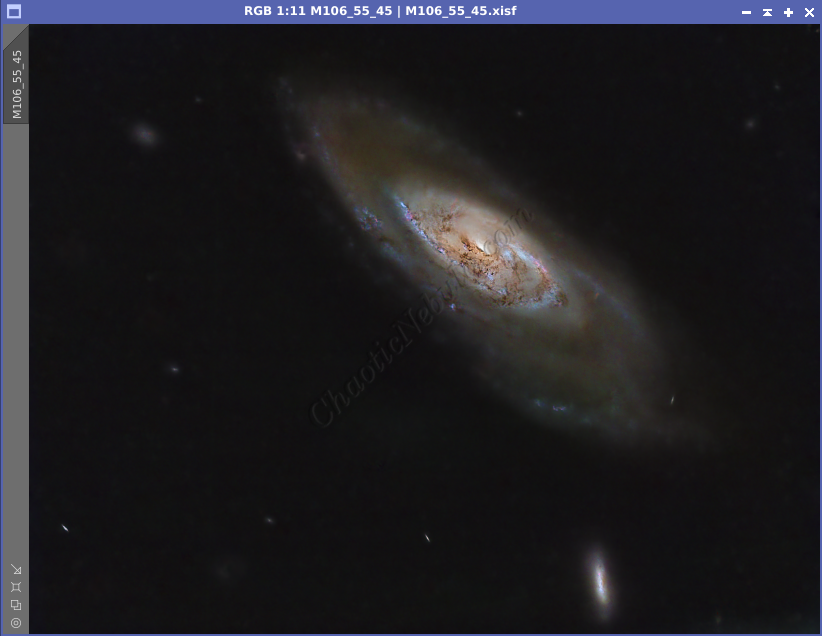

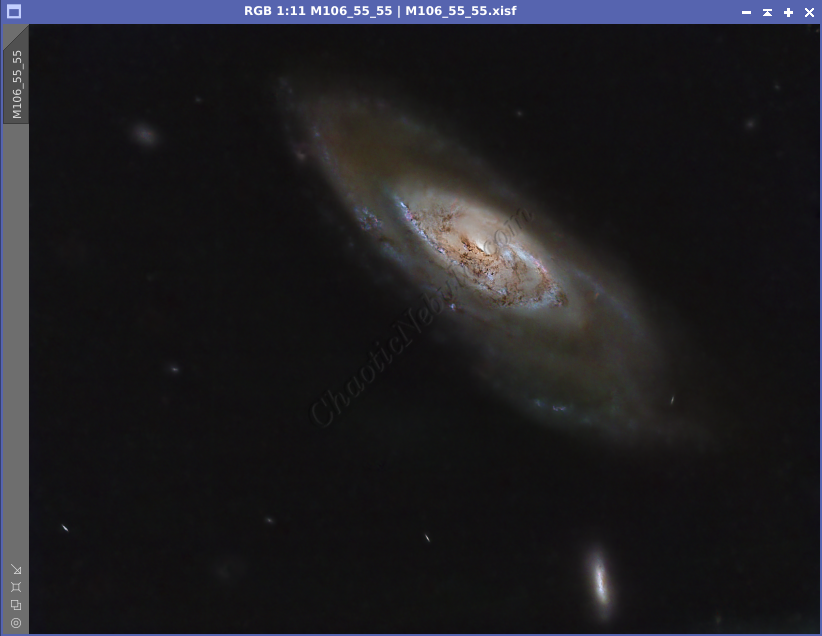
The right option is up to personal preference, but in this example, a value of Lightness=55 and Saturation=40 provides the best result.
Option 2:
Channel Combination
For some cases, the LRGB Combination process can be overly aggressive. A second approach to add luminance into a color image is to use the PixInsight Channel Combination process (Process – Channel Management – Channel Combination). The process works by adding the luminance directly on top of the RGB image. To better control the strength of the integration, a generalized masked is applied to the RGB image.
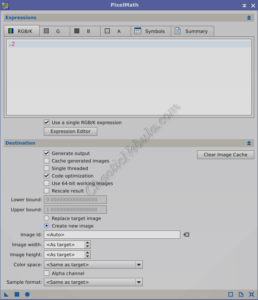
To create the mask, simply use Pixel Math (Process – Pixel Math – Pixel Math).
Using the formula “.2”, Pixel Math creates a plain grey image that will be used as the generalized mask.
When the mask is applied to the RGB image, the entire image is masked equally. When the luminance channel is applied, only 20% of the strength gets applied for each iteration. To apply the luminance channel, use the Channel Combination process.
Within the Channel Combination process, do the following:
- Color Space: CIE L*a*b
- Channel L: Select the enhanced luminance channel.
- Channel a: Disable
- Channel b: Disable
Apply this process to the masked RGB image by dragging the triangle onto the RGB image. Repeat until the desired outcome is achieved.

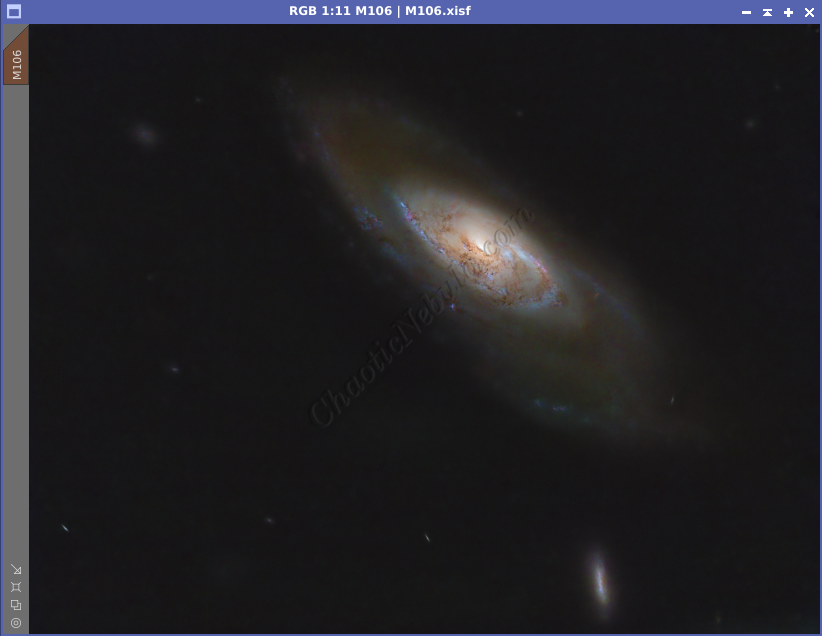
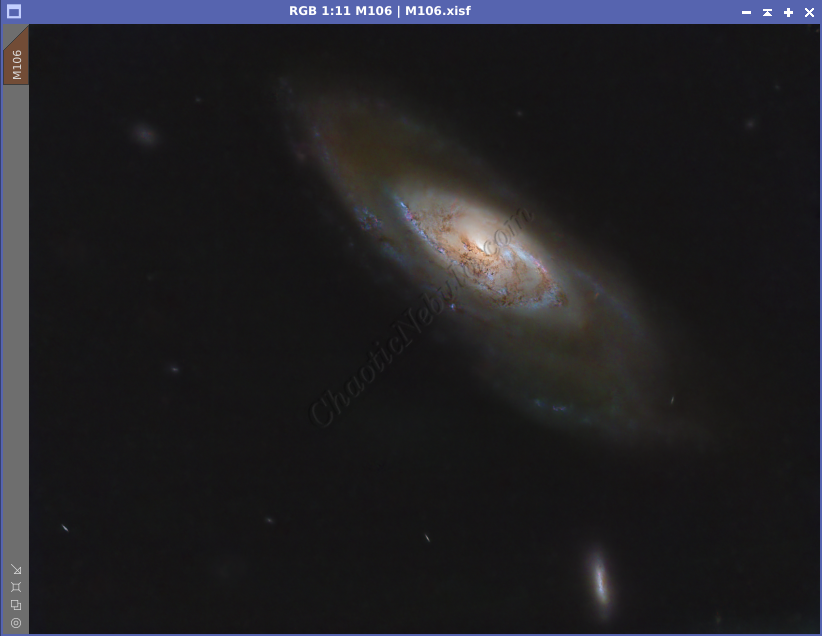
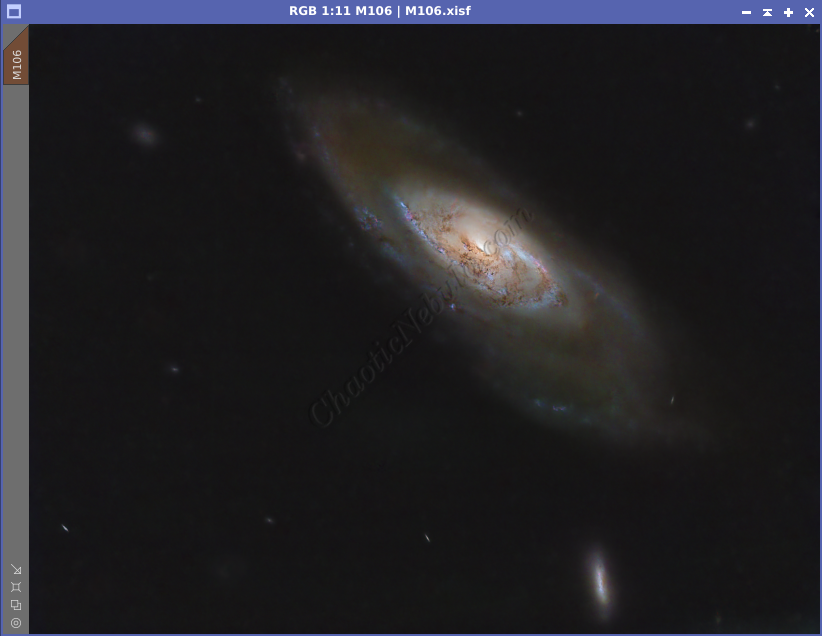

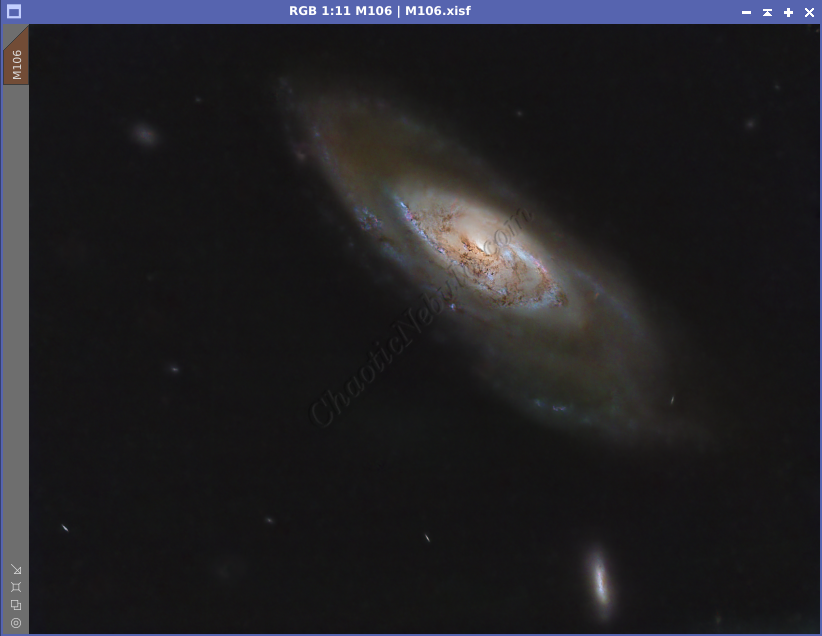
How many iterations is a personal preference, but with each round, there is a smaller impact on the resulting image.
What’s Next
Overall, spending the time to create an enhanced luminance definitely improves the overall quality of the image. With luminance added, the astrophoto processing workflow goes back to the main flows based on the object:
