Astrophotography images often include objects that have very bright cores and faint outer regions. When stretching an image to reveal the faint details, the bright core often gets loses detail due to excessive brightness. By leveraging HDR Multiscale Transform, the details within the bright core are recovered.
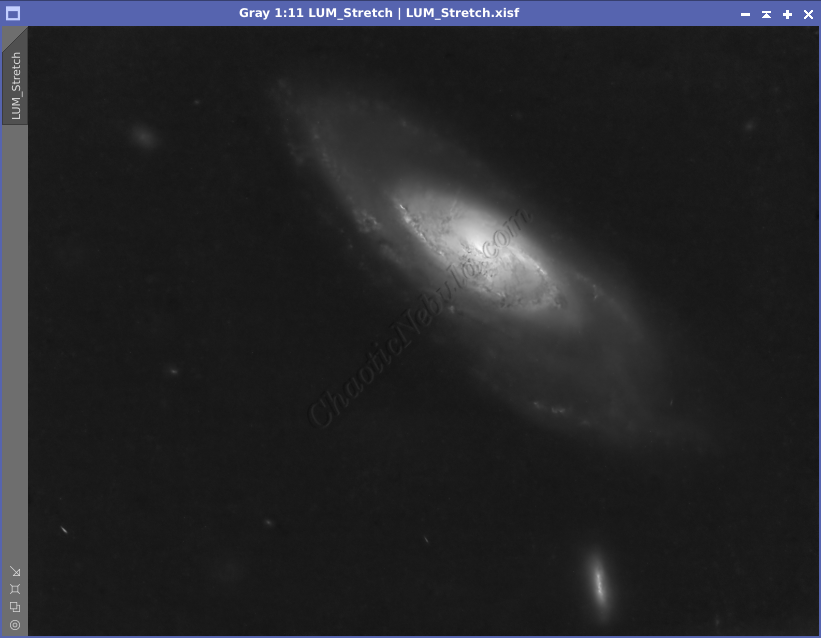
HDR Multiscale Transform provides a way to bring out the full detail of an astrophoto without sacrificing details in regions with different brightness levels.
HDR Multiscale Transform:
Basic Operation
The HDR Multiscale Transformation process is easy to configure.
A few details about this process:
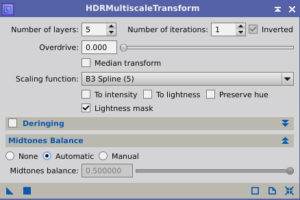
- Number of Layers: Each layer represents a different scale (size) of detail. Using more layers provides more detail in the image, but does increase processing time.
- Number of Iterations: Simply the number of times the process will run
- To Intensity: Focuses on the I component of the HSI (Hue, Saturation, Intensity) color model. Not applicable for luminance channel.
- To Lightness: Focuses on the V component of the HSV (Hue, Saturation, Value) color model. Not applicable for luminance channel.
- Preserver Hue: Focuses on the *h component of the CIA L*c*h color model. Not applicable for luminance channel.
- Lightness Mask: Applies a process-created mask to protect the darker background of the image.
Although this might seem confusing, the two most important parameters for this phase of the imaging workflow is Number of Layers and Lightness Mask.
Because the Number of Layers brings out different details within the image, it is useful to create new HDR images based on different number of layers (5-9) and then blend these together into a final image. To accomplish this, do the following:
- Clones: Create 5 clones of the original luminance channel, calling them HDR5, HDR6, HDR7, HDR8, and HDR9
- HDR Multiscale Transformation: Enable Lightness Mask, and set the Number of Layers as follows:
- HDR5: Number of Layers equals 5
- HDR6: Number of Layers equals 6
- HDR7: Number of Layers equals 7
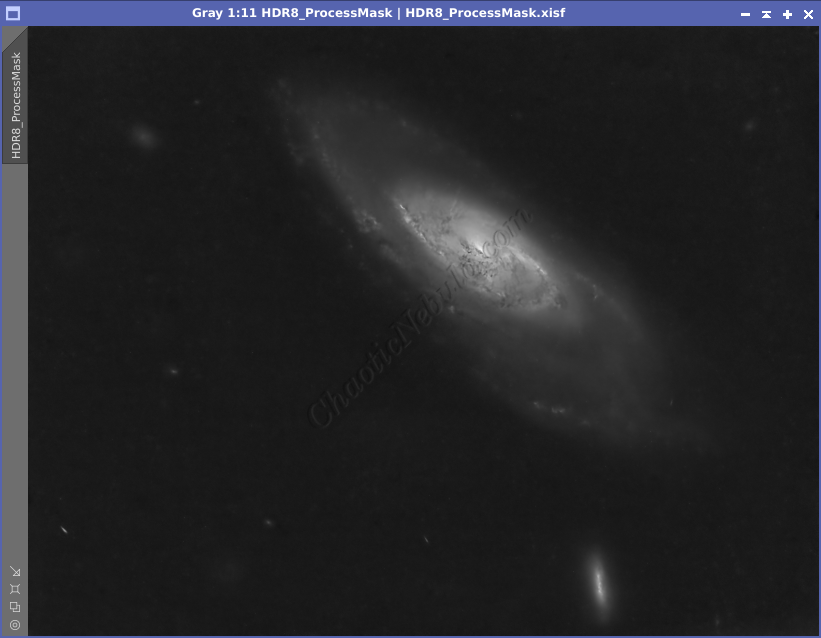
- HDR8: Number of Layers equals 8
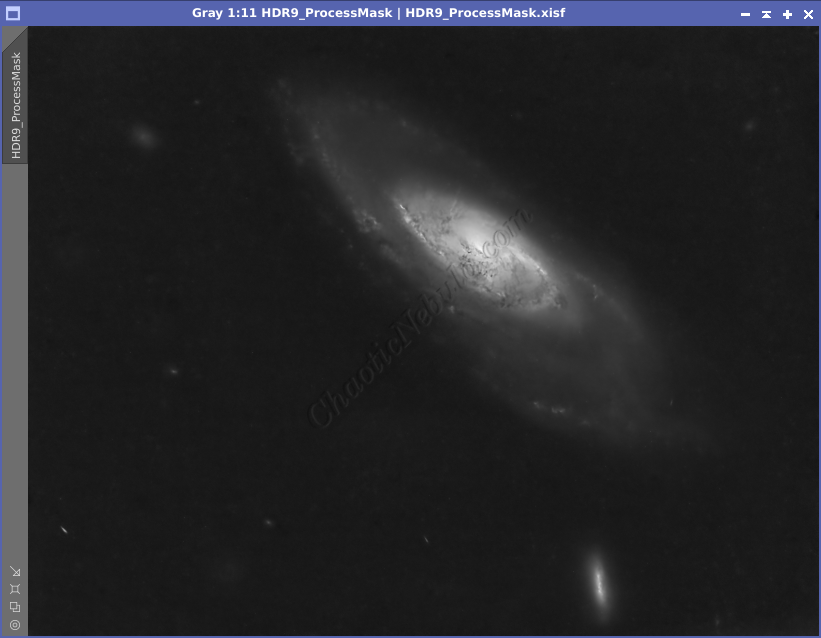
- HDR9: Number of Layers equals 9


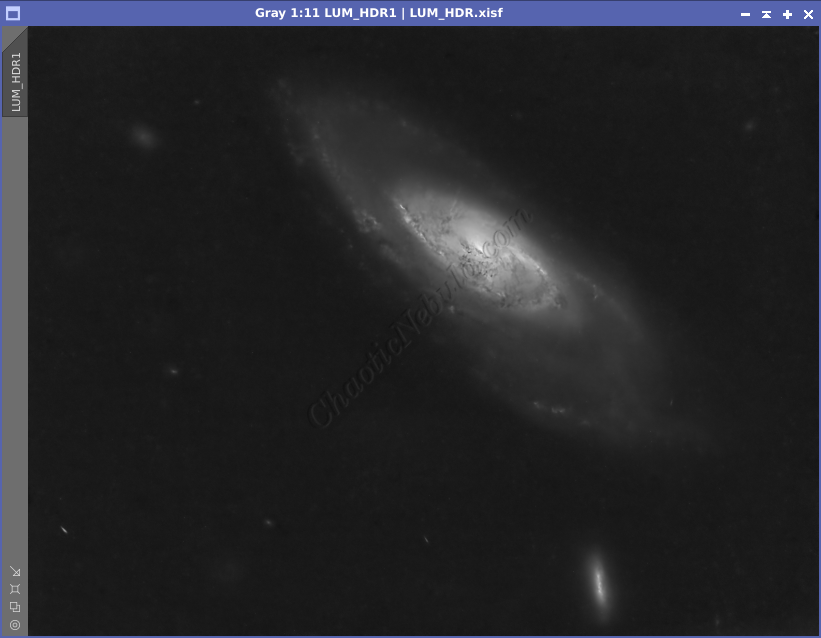
At this point, there are now 6 image (the original luminance image and the 5 HDR images). Use Pixel Math to blend these images into a final HDR image.
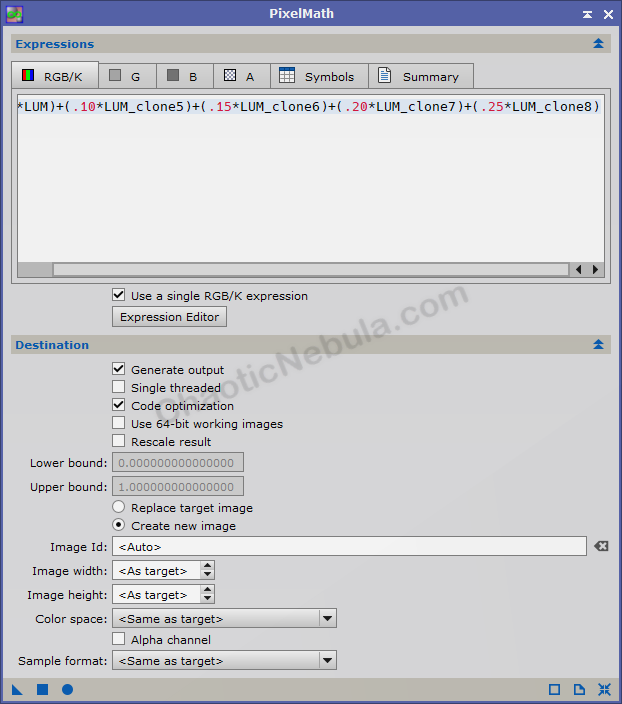
In the Pixel Math process, select Create new image and use the following formula. (Adjust the percentages as needed)
(.20*LUM)+(.10*HDR5)+(.15*HDR6)+(.15*HDR7)+(.20*HDR8)+(.20*HDR9)This creates the following blended HDR image.

Advanced:
Types of Masks
In the default setup, HDR Multiscale Transform gets applied to the entire image. However, if the goal is to focus the process only on the bright areas of the image, a mask is required. The HDR Multiscale Transformation process includes an option for a lightness mask or a custom mask can be created outside of the process. Which one is better?
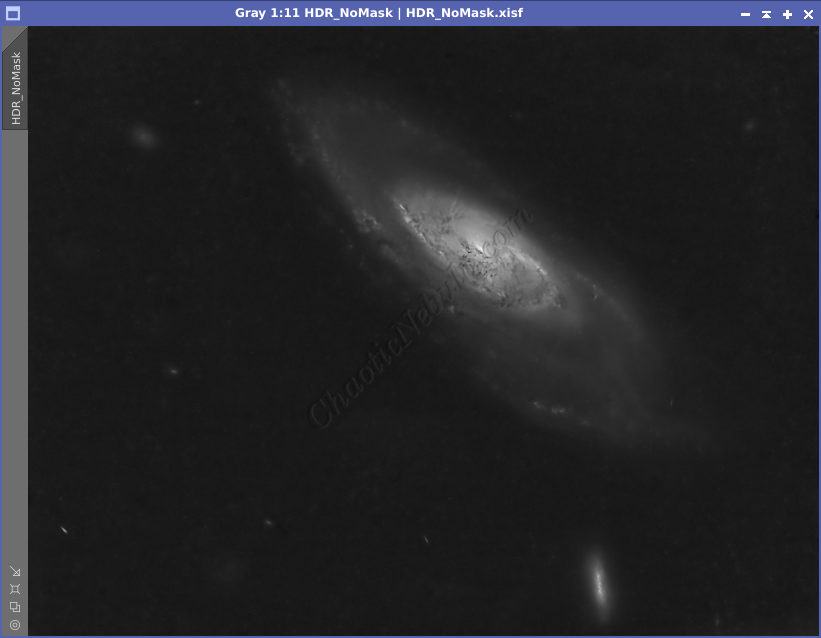
All three options improved the central core the of the galaxy. More detail is now visible. However, although the no mask option did work well, it is risky due to the lack of control on what the process will enhance. This really leaves the options of using the HDR Multiscale Transformation process to create a lightness mask vs creating a custom mask.
The decision is really a preference. But regardless, the following provides details on creating and using a custom mask.
Custom Mask
Instead of using the lightness mask option included within the HDR Multiscale Transformation process, a custom mask can be used. The goal of the custom mask is to only focus on the bright core of the object.
To create the mask, start by creating a clone of the luminance channel.
In order to emphasize the bright structure of the cloned image, use the Histogram Transformation process (Process – Intensity Transformation – Histogram Transformation).
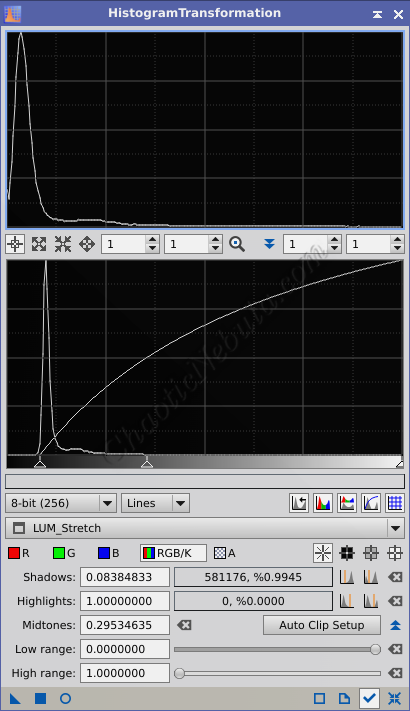
To configure the custom mask, do the following to the clone luminance channel:
- Auto Clip Shadows 1%: This button removes the darkest areas of the image, which the process should avoid processing
- Mid-tones: Adjust the mid-tone slider (middle) to the left to stretch the image, which will also brighten the brighter areas. The bright areas are what will respond the most to the HDR Multiscale Transformation process.
With the mask created, apply HDR Multiscale Transformation process as follows:
- Clones: Create 5 clones of the original luminance channel, calling them HDR5, HDR6, HDR7, HDR8, and HDR9
- HDR Multiscale Transformation: Enable Lightness Mask, and set the Number of Layers as follows:
- HDR5: Number of Layers equals 5
- HDR6: Number of Layers equals 6
- HDR7: Number of Layers equals 7
- HDR8: Number of Layers equals 8
- HDR9: Number of Layers equals 9


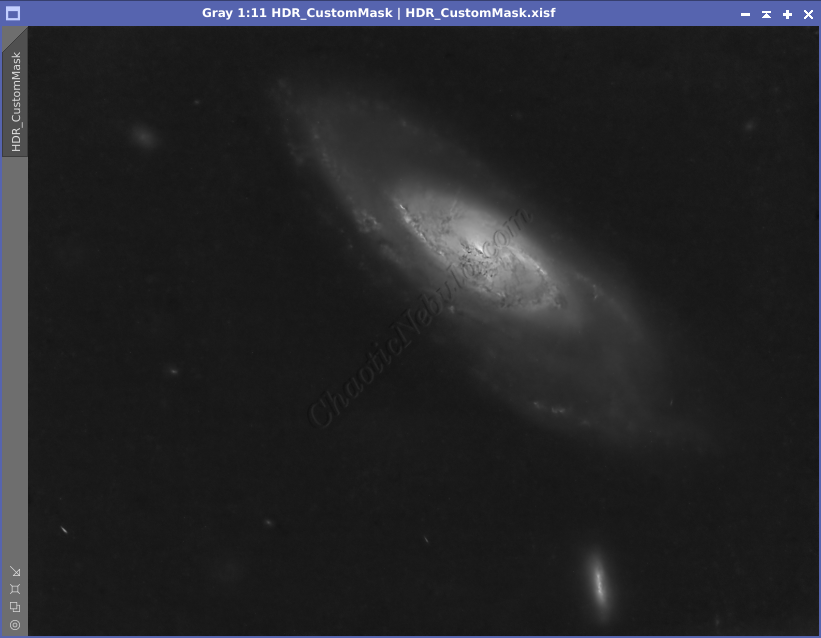
By using the Pixel Math integration formula from before, the following is the final HDR blended image using a custom mask.
What’s Next
Save this file as the new Luminance image and continue on with the luminance workflow.