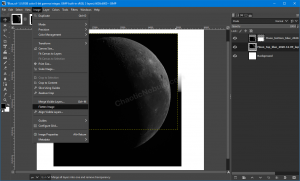
With GIMP, you can create stitch images together into a panorama or mosaic. Ideally, the individual images do not require rotation, as it will make the overall process more difficult (not impossible, just more difficult).
The following process shows how to use GIMP layer masks to stitch together a panorama.
New Project
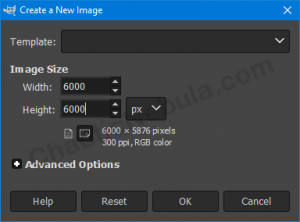
Within GIMP, we need to create a new image, whose size is larger than the combined images. I typically go quite a bit larger to provide enough leeway, which will get cropped later.
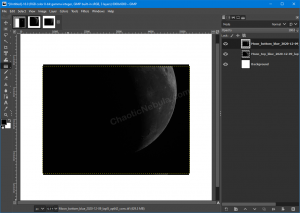
The the image loaded, we now need to open up all of our images as new layers.
With the layers open, we should see multiple layers in the right-hand pane, with background being the image we originally created.
Move Layers
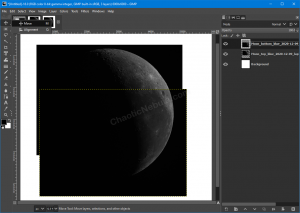
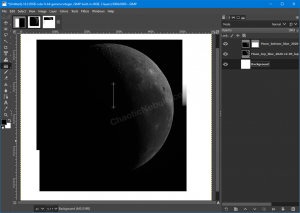
At this stage, it is a good idea to create a rough layout of the panorama. To move layer, select the layer in the Layers Pane on the right. In the left toolbox, select the move icon. The move process can also be found in the menu at Tools – Transform Tools – Move.
Do this for each layer as necessary until you create a rough layout. It doesn’t have to be perfect at this stage.
Layer Mask
The challenge with mosaics/panoramas is that we often see a sharp edge where the different frames meet. We can eliminate this by gently blending portions of the image where they overlap.
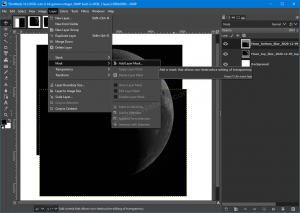
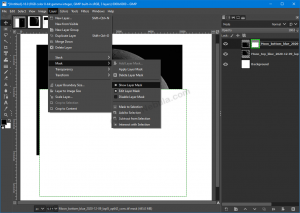
To do this, we need add a layer mask to one of our images. Select the layer, then select Layer – Mask – Add Layer Mask.
Select “Initialize Layer Mask to White (full opacity)”
A new icon will appear next to the currently selected layers within the layer’s pane. This is the mask for this particular layer. It is useful to show the layer mask (Layer – Mask – Show Layer Mask).
We want to have this mask gently blend until we get to the point where this top layer ends into the bottom layer. So when we reach the bottom layer, we only want to see the bottom layer, with no top layer details. To do this, we need to create a gradient within the layer mask.
Launch the gradient process (Tools – Paint Tools – Gradient)
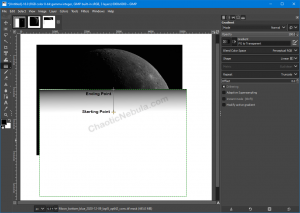
With the gradient tool, we need to make our starting point within the top layer’s mask where it overlaps the bottom layer. Drag the gradient tool to the edge of the top layer. The starting point doesn’t need to be too far away from the ending point. You will see a smooth gradient
Depending on the default settings within GIMP, the gradient properties might need to be adjusted. In the Layers panel, select the Tool Options tab (top buttons in the right-pane).
- Gradient: Foreground to transparent
- Blend Color Space: Perceptual RGB
- Share: Linear
Once the gradient looks like the above image, select the layer mask and hide it (Layer – Mask – Show Layer Mask (Deselected).
At this point, the image should look pretty good. The next step is to nudge the layers together so they are perfectly aligned.
Nudge
At this point, the image should look pretty good. The next step is to nudge the layers together so they are perfectly aligned.
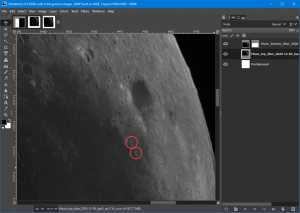
We first need to zoom in to a level where we can see the details. The area we select should also be where we have the gradient from our layer mask.
In this image, the two red circles around a crate are actually the same crater. This shows that the bottom layer needs to be nudged slightly so that they line up.
- Select the bottom layer (not background) in the layers pane
- Select the Move tool (Tools – Transform Tools – Move)
- Mouse click within the image. Then use the arrow keys to gently nudge the image into alignment.
Flatten Image
What’s Next
With the images stitched together into a mosaic/panorama, we can either
- Integrate our separate color channels into one RGB image
- Sharpen the image if the lunar image was captured with a color camera.
